
 Top-class detectors can hit the jackpot before you hammer that nail by sampling density fluctuations in a wall. Capacitive finders firing on all cylinders detect anomalies in wall density at a thicker width and depth.
Top-of-the-line models developed by the Zircon Corporation of Campbell, Calif., come with a mode that improves the sensitivity to slightly more than an inch. With smash hits hot off the press for the company, our how to use zircon stud finder guide relates to the StudSensor™ SL and StudSensor™ Pro SL lineup.
Zircon stud sensors nail down the edges of metal or timber studs up to ¾” deep in walling. The models hone in the edges of joists or studs 1 ½”deep in floors, ceilings, and walls.
8 Things To Consider on How To Use Zircon Stud Finder:
1. Tips and Tricks to Swing into Action
Do not press your other hand or another part of your body on the wall under probe
Based on the proximity of live AC wiring or pipes to a walling, the scanner senses them just like studs. You can scour walls, floors, and ceilings before driving nails, cutting and drilling in walls
To avoid red herrings, remember that joists and studs have a spacing of 16” or 24” with a 1 ½” in width. Anything proximate or of different width will not be a stud, joist, and firebreak.
Always switch off the electrical outlets when nailing, knocking through or cutting near electricity cables
2. How To Replace Batteries in Zircon Stud Sensor
Do not unscrew the rear of the device as you will loosen the components under the hood and cause damage.
Open the battery door in the rear. Insert a fresh and handpicked Zircon battery; match the positive and negative terminals to the bars inscribed on the rear.
Snap the battery snugly and replace the compartment door. You can also install the battery belt clip. Use one hand to push the lip of the compartment cover up to 1/16”.
After lifting the tab, the cover flings open. Slide the battery lid off.
Slip in a fresh and functioning 9V alkaline battery into space, terminal side headfirst. Match the negative and positive terminals. Glide the lid back on like removing and snap-fit snugly into place.
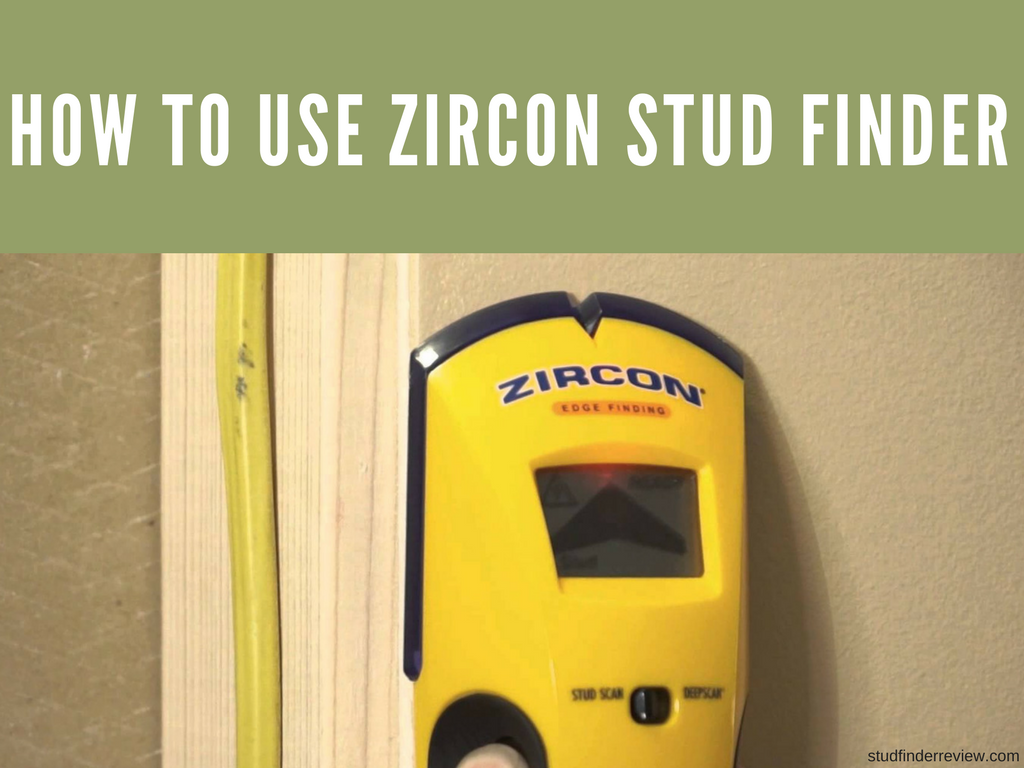
3. How To Use Edge Finder Zircon Tools
Hold the stud finder flat onto the wall and keep the detecting surface flush with the walling continuously to avoid false readings.
Turn on the device by pushing the switch to the side. It will illuminate temporarily and calibrate to the wall’s density.
At snail’s gallop, slide the Zircon either left or right, if you get an “over-the-stud” warning, retrace your pathway.
Cover more area, and the device will allow you to see precisely the location of a stud’s edge. Mark the spot if the array of LEDs report where you locate a stud’s edge. Repeat the process from the other side to highlight the other edge with pinpoint precision. The equidistant between the marks indicate the center.
4. Probing Different Surfaces
Sensing depth and accuracy of the Zircon varies due to water vapor, type of materials, wall texture, and paint.
- Freshly-painted walls: They require a week or so to dry after painting.
- Wallpaper: StudSensor™ SL and StudSensor™ Pro SL models go like clockwork on walls lined with wallpaper and fabric unless they have metal foil, fibers or still drenched after application
- Lath & Plaster: Due to indentations in plaster width, the tool may give false positives and negatives. The models do not scan for wood studs or joists shrouded by ceramic tile, carpeting, and pad. But it will hit the spot when examining drywall, floors, and ceilings.
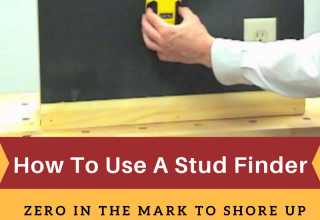
5. Locating A Stud
Always probe for studs with the detector placed flat on the wall. Hold the device flat against the wall, then push and hold the Power button.
A beep will verify the end of calibration before moving the scanner. Continue to press the POWER button then slowly glide it horizontally along the surface, right or left.
As you draw near a stud, the red LEDs will illuminate, from bottom to top.
With the top green LED illuminated, the SpotLite beam illumines, you have homed onto the edge of a stud. Mark the spot.
Do not release the button as you continue screening beyond the highlighted place until the green LED fades. Slide backward to identify the other edge. The middle of the marks hones in the midpoint.
6. DEEPSCAN® MODE
The Deep Scan Mode will help you overcome obstacles like thicker walling seams or depth of targets. Thicker or denser walls will cause the scanner to give false positives and negatives.
- You can scan for studs ensconced deep in walling with a more penetrative DEEPSCAN® MODE.
- With the tool still positioned flat on the wall and triggered on, release and re-press the POWER button in a trice.
- The DEEPSCAN® MODE LED will shine. Re-scan for studs again with the most intense LED highlighted as the edge of the target. The most intense LED emitted as you scan shows the stud’s edge.
7. Troubleshooting Hints & Tips
- If the tool indicates nothing, it infers no studs in that location or DEEPSCAN® MODE, and you have inadvertently calibrated above a stud. Move a few inches left or right to re-probe.
- If you calibrate over a stud or a denser portion of the wall, switch it off moving over a couple of inches, push the POWER button and restart.
- Top green LED does not illuminate as you scan, but only a few red LEDs shine
- Tweak to DEEPSCAN® MODE to zero in studs underneath the thick and dense concrete
- Zircons can detect other items besides studs, including electrical wiring and metal or plastic pipes adjacent to the back surface of a wall
8. Why You Must Re-Calibrate the Zircon Stud Sensors
Due to the numerous varieties of techniques used to erect flanks, calibrating the unit helps keep sensors firing on all cylinders as you transit across different surfaces or materials. Walls constitute a diverse mixture of wood, drywall width, paint coatings and much more.
- Calibrating the detector on a stud-less partition gives the tool a capability to determine the wall thickness or material density and sample factors like humidity, heat and even the slightest electric data
- Hypersensitivity ensures scalpel-precision readings, but fluctuations in the wall, ambient moisture, a buildup of static electric fields or repositioning the palm of your hand can distort data
Final Verdict
If your toolbox packs this brand, you have to learn the ropes on how to use zircon stud finder by poring over your manual. You can home in onto metal and wood studs, joists and AC to pave the way for renovations or minor improvements.
Zircon tools now incorporate multi-scanning modes like the metal detection to uncover studs beneath lath and plaster walls. Most Zircon stud sensors and multi-scanner detectors give an up-and-running operation with a fresh 9V battery.
If you encounter false positives or negatives, calibrate and experiment the tool on a surface. Always keep the stud sensor fastened with the screws and high-impact cover on for extra protection.


Leave a Reply