
 You don’t always need a stud finder to beat the band as a few tricks of the trade will suffice in some scenarios. Contractors trudge through the search for studs when mounting a picture, TV set or shelf with tool-free techniques.
Save time by downing the all vine-and-no taters stud finders due to inconsistencies, inaccuracies and other limitations to wing it tool-free. Old-fashioned methods may sound obsolete in a tech-paced world but mere observations, illumination, hammer-tapping, and coat hangers will cut the mustard.
For connoisseur do-it-it-yourselfers, certain markers make it easy duck soup to pin down a stud. Nuts and bolts on the design of homes will show whether you have 2×4 or 2×6 studs, give hints near the edges of windows and doors.
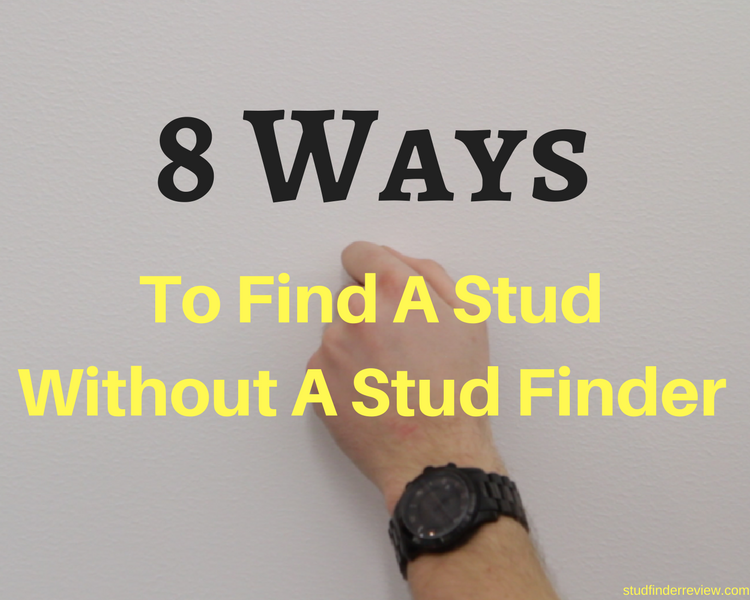
Things To Consider about How To Find A Stud Without A Stud Finder:
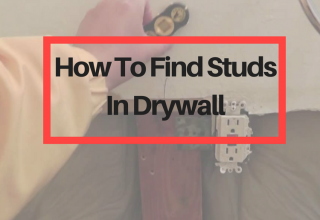
1. Finding the Studs in Drywall
At the highlighted suspension rail line, knock the wall from the corner out to examine for the first stud.
Mark its location with a pencil to parlay it into a stud-finding cue for the next stud.
While sequential studs lie at 16” intervals, others have a spacing of 12’’ or 24’’ in some houses.
Highlight the location of every stud along the line. It shows you the point of suspension rail to the surface.
The actual sizes of a 2×4 lumber vary depending on the age of the house, more modern buildings measure 1-1/2” to 3-1/2”.
2. Acoustic Cues & Hints
Knock gently on the surface to detect high sounds that infer a stud and a hollow noise for a stud-less portion. You will need sharp ears to capture the sound and nail down studs this way.
You can’t glimpse at studs or ceiling joists, but sound gives you a key to the mystery. Rapping has a solid thunk while space sandwiching framing components produces a hollow sound.
Well-versed stud-hunters skilled in the art to go all ears, as keen as mustard can locate a stud and drive a small nail to verify the target. If no stud or ceiling joist lies, you’ll need to patch the crevice.
3. Electrical Connections As A Starting Point
Electrical units hosting light switches or outlets attach directly to a stud. It also applies to electrical components, cable jacks and light sconces fixed during construction.
You can pull out the case and try to peek inside to see the stud or insert a thin tool on either side. You’ll see the side of the unit fastened to a stud at a glance.
Either side of the outlet or light switch mounts on a stud, tap the sides and use this as a starting point for 16’’ increments. You can assume the midpoint of a stud measures ¾’’ from the edge of an electrical outlet.
4. Unravel A Stud & Unsnarl Others at 16”
- If you find studs typically 16’’ on midpoint, you can also work out dimensions from the corner of the room. The other possible distance interlinking studs punches in at 24’’.
- Examine 16’’ from the first stud you pinpoint to estimate the location of the adjacent one. You can also tap on the wall lightly with your knuckles or hammer to detect a solid sound rather than a hollow noise.
- Look for outlets on the wall, detach the cover plate and illuminate the interior, you may see a stud on the side of the box. Measure the spacing from the edge to the stud, readings should reveal a 16’’ or 24’’ pattern regularly in a continuum.
5. Pore Over the Trim
A baseboard hinged on the studs give cues if you can identify the point at which it’s nailed. The dimples or crevices painted over time and fed with caulk allow you to pinpoint the stud by measuring 16’’.
- Most homes with baseboard, shoe moldings and crown moldings nailed to studs allow you to identify the telltale dimple with a piece of trim nailed. You can find a stud this way and measure at 16” intervals to hone in others.
- You’ll mark the bull’s eye and hit the mark by measuring the corner of the exterior of the building.
6. Using A Flashlight
Shine a beam of light at a slanted angle against the wall. Scour for a seam of bumps and dimples in the surface. They include indentations triggered by nails fastening the lining of the wall to the studs; it gives you a guarantee of their presence behind the veil.
If the wall uses drywall, you can ravel out studs with a flashlight. Small dimples emerge where nails thread through the drywall to the fastener.
You may also spot joists between two portions of drywall. You can nail down a stud beneath the wall where they intersect. You will need the eagle’s sharp sight and patience to pore over.
7. Play it with a Magnet
Using a strong magnet can work for various walls depending on the thickness of the seam. Thicker boards may need stronger attracters rather than a fridge field magnet to punch forces through a wall.
- Ensconce in a small magnet to the edge of a part of dental floss. Dental floss’ thinness won’t pose much resistance. You can also wrap a sizable refrigerator magnet in blue painter’s tape and leave a flap to use as a grip as you drag it long the surface.
- Oscillate the magnet along the wall until it holds on to a screw and nail beneath the plasterboard. Try to graze it zigzag on drywall; you’ll latch on screws used to secure it on the studs.
8. Benefits of Going Tool-Less in Stud-Finding
- No false positives or obstacles when the sensor cannot punch through the wall’s seams deeply to narrow down the framing beneath the surface.
- Detective cues help you zero in studs without paying for the service or equipment. It saves cash for contractors on construction sites.
- DIY stud navigation tricks allow you to locate sly wall studs for home renovation and other projects.
- Manual stud-hunting has some trial and error; you rely on your instincts to trace targets with precision.
- You can wing it by tooling up with a refrigerator magnet, nail, hammer, hanger, and flashlight to experiment different techniques.
Final Verdict
Mastering how to find a stud without a stud finder may sound like cussing a blue streak but it comes as a blessing in disguise. Handyman insider’s tips will go like clockwork for fast-learning DIYers to locate studs without automatic navigational tools.
With keen ears, magnifying eyes and at-the-ready accessories like a refrigerator magnet, you can virtually eliminate the false positives and home in onto a target with scalpel-like precision.
Experiment with a hanger, driving nails to bite into wooden beams, or other conventional methods to find a stud. It saves hundreds of bucks while letting you ravel out a stud for steady and firm support of pictures, TVs, shelves or other heavy objects mounted on the wall.


Leave a Reply