
 For contractors and do-it-yourselfers, existing studs help prop up new installation such as shelves, mount pictures or heavy objects on your wall sturdily. To hit the nail on the head, adhere to the manufacturer instructions, marking edges and centers of any stud reading using a pencil.
But stud finders also home in onto pipes, wiring or conduit making it an ace in the hole for home renovation, hanging items or punching through the wall.
The device will go through the wall with a fine-tooth comb supported by audiovisual alerts and repeated probing to range in studs with pinpoint-accuracy. To fathom inaccurate readings; you may want to use a nail to thread through and confirm the presence of studs underneath.
8 Things To Consider | How To Use A Stud Finder:
1. Initial Considerations
Check batteries, use only fresh and functioning ones as dead ones distort readings significantly.
Keep the wall all-spruced up, clear out any obstruction as they interfere with readings.
Cross-check the flat side of the device where you’ll access contacts and shield the wall against scratches.
Studs typically lie 16’’ to 24’’ apart; you will narrow down in the region within a dual-foot span.
Tool up the stud finder with a tape measure and pencil.
As you screen across the length of a wall, a pattern of readings emerge with studs scattered 16’’ apart. Readings with a different width and irregular location indicate you should not drive screws and nails.
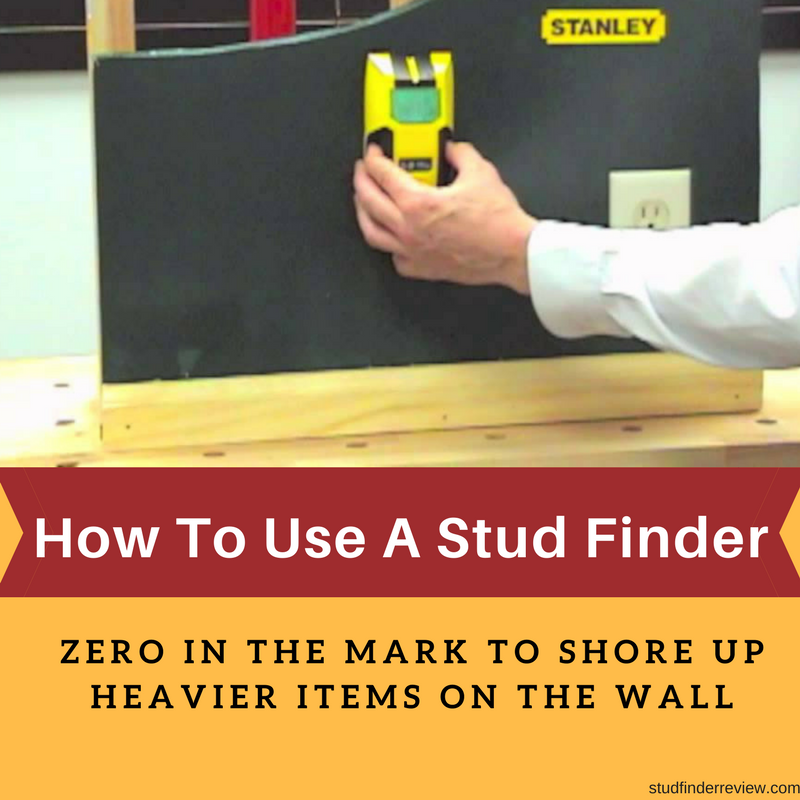
2. Probing Walls with a Stud Finder
Hold the stud finder entirely against the wall with the top and base staying in contact with the surface. Place it roughly 1 foot left of the site of drilling or mounting.
Switch it on and calibrate in line with the manual until beeping stops.
Slowly slide the device from left to right, horizontally with the body flat on the lining.
When the tool produces audio or visual alerts, retrace a few inches in close range and double-check the site of beep or flashing light.
As you dislocate the stud finder, it will beep on the edge of the stud. Mark all sides to determine the dead center of the stud.
3. Edge-and-Center Finding
Stud finders produce signals when it detects the edge of open space beneath the wall and the end of a dense object.
Mark the point with a pencil or painter’s tape.
Recalibrate the stud finder or move it proximately from the opposite direction.
Locate and highlight the opposite edge. It lies approximately 1-1/2’’ from the first marking.
Measure and identify the midpoint which sandwiches the edges-the center of the stud.
Center-sensing models hit the mark-the center directly.
Studs also detect the existence of Live or unsheathed electrical wires.
Pinpoint various points on the target stud and range in adjacent studs to ascertain the presence of targets.
4. SAFETY INSTRUCTIONS
Remove the batteries when storing the tool for long to prevent damage when they deteriorate.
Ascertain the stud finder works on the type of wall you want to scan as most will only work on dry interior ones.
Do not nail, drill and cut into the wall with electrical wiring and shrouded water pipes as it’s dangerous. In case of electrical wiring buried beneath the wall, switch the circuit off before punching through the structure.
It’s possible for a stud finder to sense wiring and water pipes, but most models will detect wooden studs on drywall with a maximum depth in inches.
5. Precision-Operation for Proper Handling
- While probing, keep the device in contact with the surface.
- If the tool lifts off, you need to recalibrate or await automatic function.
- If the beep or LED alert fails to illuminate or indicate calibration, you may have done it over a moist surface. Switch it off and restart the calibration by moving it 5-inch or 8-inch leftwards.
- When the unit alerts you nonstop as you calibrate, you may have calibrated above a metal pipe. Move it left or right a couple of inches and reactivate calibration.
- When grasping the unit, your hand should remain at the same point during calibration and screening.
6. Troubleshooting Electronic Stud Finders
- If the device fails to turn on, check the batteries’ status and installation onto the connector. Some models have a battery-low auto indicator.
- Read the manual for operating instructions and adhere to all steps as any deviation will cause errors in sensing.
- Electronic stud finders reading the sampling of wall density requires proper calibration for pinpoint-precision detection.
- Stud finders have unique technology and techniques; thus they differ on scanning depths.
- Building materials like lath and plaster seams can diminish the precision of a stud finder. Tiles made from natural stones like marble and granite can distort readings in the device.
7. Directions & Clues Given By Stud Finders
- Though stud finders integrate unique scanning technologies, audiovisual alerts help verify that a stud lies beyond a certain point on the wall.
- Use the relevant data outlined on a visual display or interface for navigation aid.
- Studs’ or joists’ spacing measures between 16” to 24” apart with an edge breadth of 1-1/2’’, anything located closer together or at varying width does not constitute a stud, joist, and firebreak.
- Tool up with a pencil or use the notched curvature of the detector’s base to mark the position of the studs, so you do not miss the point on a sprawling area.
- For the most accurate readings, use the stud finder at the wall’s top and bottom for correspondence.
8. Why Use Stud Finders Rather Than Old-Age Tricks?
- Helps you identify the framing studs in the wall without poring over drafting plans
- Orients home renovation or decoration to mount paintings, portrait, mirrors and built-in shelves securely
- Some stud finders can sense metal, live AC voltage, and pipes with features such as edge-finding, center-locating or instant detectors.
- The devices may also integrate a spotlight projecting mechanism that will emit an arrow-shaped beam on the wall to help you mark it.
- Top-of-the-line versions with deep-scanning technology can probe all types of materials like sheetrock, plaster, drywall, carpets, ceilings, lath or tile.
- Others pinpoint the width of clandestine metal items
Final Verdict
Now that you have mastered how to use a stud finder, you can peg down targets without missing the mark. Handle the precision instrument with extra care, avoiding shock, extreme heat, and vibrations. Check batteries regularly to deter deterioration and keep the unit dry and shipshape.
A vast proportion of digital multi-scanner stud detectors offer multiple functions, settings, and superior sensing systems to home in wood studs, metal or live wiring.
You should also stick to the manual script; never second-guess your manufacturer and tool up with essential accessories like a pencil, lever, and tape measure. For connoisseur DIYers, you can wing it with a magnet or experiment one of the old tricks to locate targets.


Leave a Reply